Buyer Bonus for
'(PLR) Premium Medical Content By Doctor Loy:
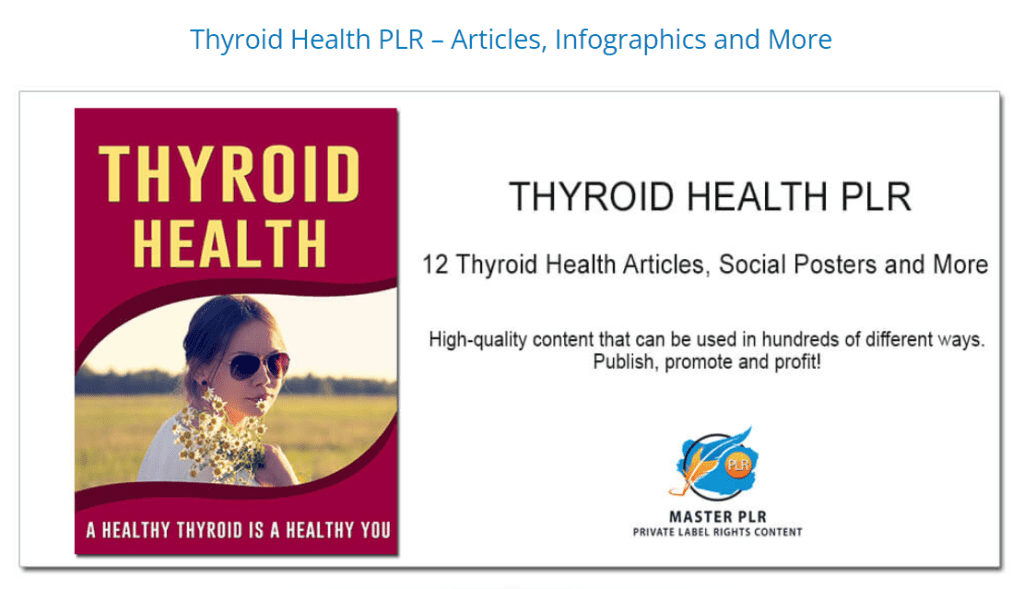
Thyroid Health'
Thank you for getting a copy of (PLR) Premium Medical Content By Doctor Loy: Thyroid Health through my affiliate link.
The bonus I have created for you will allow you to make really good use of this content, and to jump straight into this niche, with a LOT less work than normal.
You bought Loy’s articles, and now you’ll also get a full WordPress site with the articles and images already added – all you need to do is follow the instructions below to clone the site.
My bonus also includes a full list building pack with a quality rebrandable giveaway, a squeeze page, a monetized redirect page and monetized thank you page, and a 7 day email sequence giving quality information and promoting a related Clickbank product, ‘The Thyroid Factor’.
I have set up everything in a rebrander, so all you need to do is go through the steps below in the custom made software, add your own details as instructed, download the finished files and all the pages will be personalised to you, with your name, affiliate links etc already included.
Then you just need to upload the files to your server.
I’ve tried to make it as straightforward as possible, but because there is so much included here, there are a few steps to take to set it all up. But just go through the steps below in order, and if anything is not clear or if you have any questions, contact me here and I’ll do my best to help.
Before you begin, there are some thing you will need. You will need to have a domain, hosting and an autoresponder account.
If you don’t already have these, I recommend Namecheap (for domains) Hostgator (for cheap but reliable hosting) and Aweber (where you can now get a free autoresponder account).
Let’s begin!
STEP 1: Set up your WordPress Thyroid Health site
Create a new WordPress installation wherever you want to set this site up (if you’re not sure how, just do a search on YouTube).
IMPORTANT:
You can import this new site into an existing WordPress site, but it will overwrite all the existing content, so only do this if you do NOT want to keep anything already there.
Install and activate these 2 free plugins:
– All In One WP Migration (install direct from your WP dashboard, or download from https://wordpress.org/plugins/all-in-one-wp-migration/)
– All In One WP Migration File Extension – download this here
If you’re new to WordPress, and not sure how to install plugins, again just do a search on YouTube).
Import the new site:
Click here to download the Import file
In your WP dashboard, go to
All In One WP Migration > Import > Select ‘Import from file’ and upload the file you just downloaded from above.
When it has finished importing, your old login details will not work – you will need to login again using the new login details below.
Username:
affiliatem
Password:
Lo(psdLqRvo5Iahan&6OsuC)
If you are unsure of any of the steps, you can get full instructions in Step 3 of this article:
https://help.servmask.com/knowledgebase/all-in-one-wp-migration-user-guide/
STEP 2: Create Your List & Optin Form
Create a new list in your autoresponder, and for this list create an optin form. Your autoresponder will have instructions on how to do this, but if you use Aweber this article shows how to do it using their platform.
You will need the code for this form in Step 4 below.
NOTE: I have also added an extra redirect page to the funnel, which is where you want to send your new subscribers immediately after they sign up – so please set the url to this page as the thank you page when creating the sign up form in your autoresponder. The URL of the redirect page will be https://YOURURL.COM/redir.html (replace YOURURL.COM with your own url).
STEP 3: Create Your List Building Funnel
This is where you customise the squeeze page, thank you page, etc – without having to know anything about html code 🙂
Just fill out the fields below, then download the zip file at the end. You will need to already have a site and hosting, and a new list created in your autoresponder.
To rebrand your free report (you’ll need the Download link for Question 7 below) click here
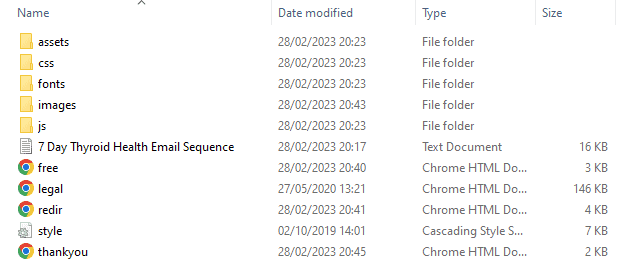
STEP 4: Upload To Your Host
Download the completed zip file from above, and upload it to the correct folder in your web host. Once uploaded, unzip the file. You will then see something like this.
STEP 5: Add The Emails To Your Autoresponder
The zip file you downloaded from Step 2 above included a text file called ‘7 Day Thyroid Health Email Sequence’ which includes all your emails, with your name & offer links already added.
Simply open this file and copy and paste these emails into your autoresponder, with the first email set to go out on Day 0, and the rest to follow on Day 1, Day 2, etc.
I have also added an extra redirect page to the funnel, which is where you want to send your new subscribers immediately after they sign up – so please set the url to this page as the thank you page when creating the sign up form in your autoresponder. The URL of the redirect page will be https://YOURURL.COM/redir.html (replace YOURURL.COM with your own url).
STEP 6: Customise your new site
Go back to your WordPress Dashboard (if you need to login again, remember to use the login details in Step 1 above), and make the following changes.
Use the ‘Search and Replace’ plugin (already installed) to
– Update your contact details
– Add your Clickbank affiliate ID
– Link to your html squeeze page
This video is from a different site, but the same steps have to be followed.
And that's it 🙂
You now have your own Allergies niche site, list building funnel & emails, giving quality information and promoting a high converting health related product to your new subscribers – and you own product to sell as well.
As a reminder, these are the URLs of your pages:
- The squeeze page URL is at https://YOURURL.COM/
- The thank you page URL for the free report is at https://YOURURL.COM/thank-you-free.html (include this link in your welcome email)
- The redirect page is at https://YOURURL.COM/redir.html (this is where subscribers should be sent immediately after signing up)
Replace YOURURL.COM with your own url – and remember to include the subfolder if you have put the pages into a folder. For example if I put all these pages inside a folder on ticketymarketing.com called wellness, so then I would replace YOURURL.COM with ticketymarketing.com/wellness
All you have to do now is drive traffic (if you got Loy’s 10 DFY Videos upgrade offer, make sure you use these to drive traffic from YouTube & other video sharing sites).
Thanks again, and If you have any questions, contact me at the support link below and I’ll get back to you as soon as possible.

Further Resources